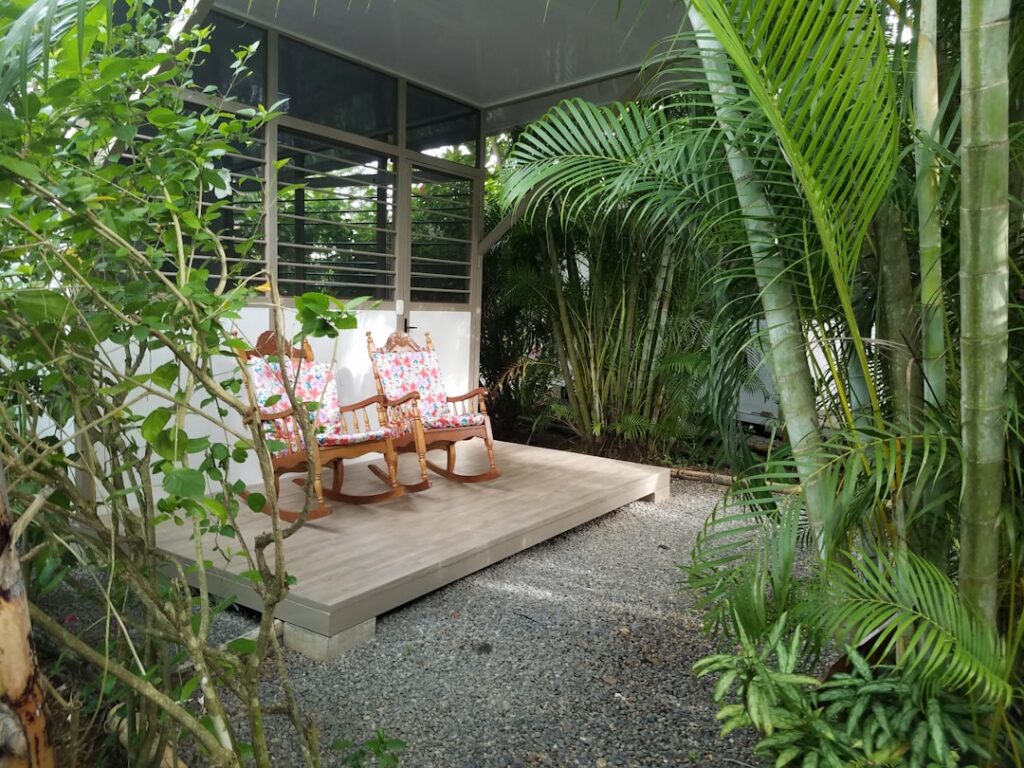
Transform Your Outdoor Space with Professional Results
A well-executed patio cover installation does more than just provide shade; it fundamentally transforms your backyard into a versatile and comfortable extension of your home. By taking on the project yourself, you can achieve a professional-grade result and save thousands of dollars, creating the perfect shaded retreat for relaxation and entertainment. Here’s what you need to know about installing your own patio cover:
Key Installation Steps:
- Planning – Choose materials, measure your space carefully, and check local building codes.
- Foundation – Prepare the site, dig footings, and set the main support posts securely with concrete.
- Framing – Attach the ledger board to your home (if applicable), and install the main beams and rafters that will form the structure’s skeleton.
- Roofing – Cut and secure your chosen roofing panels using weatherproof fasteners to ensure a watertight seal.
- Finishing – Add final touches like trim, flashing, gutters, and downspouts for a polished look and proper water management.
The cost difference between a DIY project and professional work is significant. The average professional patio cover installation costs between $1,000 to $10,000, largely driven by labor expenses. A basic 10×10 foot aluminum cover, for instance, averages $3,750 when professionally installed. By opting for a DIY kit, which can start around $1,000, you eliminate the largest variable—labor—and put those savings directly back into your pocket or toward higher-quality materials.
Beyond the impressive cost savings, the immediate benefits are undeniable. A patio cover acts as a shield against the sun’s intensity. Research confirms that a patio cover can make your outdoor space up to 10 degrees cooler during the hottest months by blocking direct solar radiation. This creates a more pleasant environment while also protecting you and your family from harmful UVA and UVB rays. You’ll gain a comfortable, all-weather area for hosting barbecues, enjoying quiet morning coffee, or protecting your outdoor furniture from sun fading and rain damage. This functional upgrade can also translate into a tangible increase in your home’s market value.
Whether you’re looking to create a year-round outdoor living room or simply protect your patio set from the elements, a well-installed cover transforms how you experience your backyard. The installation process for a standard-sized cover typically takes one to two weekends, making it a highly achievable and rewarding DIY project for most homeowners with basic carpentry skills.

Planning Your DIY Patio Cover Project
The secret to a successful patio cover installation lies in thorough, meticulous planning before you pick up a single tool. This initial phase is your project’s blueprint. The more detail you invest upfront—in measuring, designing, and researching—the smoother your build will be, saving you from costly mistakes and frustrating delays down the line.
Start by carefully documenting your space. Measure the intended width, depth (projection from the house), and height. Note the location of potential obstructions like windows, doors, exterior lights, water spigots, or dryer vents. Consider the sun’s path across your yard throughout the day to determine the optimal placement and design for maximum shade. A simple sketch on graph paper can be invaluable for visualizing the final structure and identifying potential design challenges early on.
Equally important is understanding your local building codes and permit requirements. These regulations vary significantly by municipality and can dictate everything from the required footing depth to the materials you can use. Most jurisdictions in the Las Vegas area require a permit for structures over a certain size (e.g., 200 square feet) or for any structure attached to the primary residence. A quick call or visit to your local building department’s website is a critical first step. Before you dig any footings, you must also check for underground utility lines. You can do this for free by contacting your local utility notification center—simply Call 811 a few days before you plan to begin excavation.
Types of Patio Covers: Finding Your Perfect Match
Choosing the right type of patio cover depends on your climate, budget, aesthetic goals, and how you envision using the space. Each style offers a unique blend of form and function.
Solid Roof Covers provide the ultimate protection from the elements, functioning like a true extension of your home’s roof. They are the ideal choice for creating an all-weather outdoor room, offering complete shelter from intense sun, rain, and even light snow. Common materials include insulated aluminum panels, which help regulate temperature and muffle the sound of rain. The main drawback is that a solid roof can reduce the amount of natural light entering adjacent rooms inside your home.
Lattice or Pergola-Style Covers create a more open, airy ambiance while still providing partial shade. These structures feature an open-rafter framework that casts beautiful, shifting shadow patterns. The amount of shade is adjustable based on the spacing of the lattice tubes or rafters. While they are excellent for defining a space and supporting climbing plants, they offer limited protection from rain and intense midday sun. The distinct shadow lines can also be distracting for activities like reading.
Adjustable Louvered Roofs represent a modern, high-tech solution that offers the best of both worlds. These systems feature motorized or manually adjustable louvers that can be opened to let in sunlight or closed to create a solid, waterproof roof. This flexibility allows you to control the amount of sun and shade with the push of a button, but they are the most expensive option and require professional installation for the electrical components.
When it comes to placement, you’ll choose between attached and freestanding designs. Attached covers are anchored directly to your home’s exterior wall, creating a seamless indoor-outdoor transition. They leverage the house for support, which can simplify construction. Freestanding covers are independent structures built on their own posts, offering total flexibility in placement. They are perfect for creating a destination spot in your yard, such as a poolside cabana or a garden pavilion.
Choosing the Right Materials for Durability and Style
Your choice of material is one of the most critical decisions you’ll make, impacting your project’s cost, longevity, maintenance requirements, and overall aesthetic.
| Material | Cost (10×10 ft Avg.) | Durability | Maintenance | Aesthetics |
|---|---|---|---|---|
| Wood | $2,000-$4,000 | Moderate (15-20 years with care) | High – Regular staining/sealing needed | Classic, warm appearance that complements most home styles |
| Aluminum | $3,000-$6,000 | Excellent (25+ years) | Low – Occasional cleaning only | Modern, clean lines; variety of colors available |
| Vinyl | $2,500-$5,000 | Good (20-25 years) | Very Low – Soap and water cleaning | Traditional look; limited color options but never needs painting |
Wood offers timeless, natural beauty and incredible design flexibility. Species like cedar and redwood are naturally resistant to rot and insects, while pressure-treated pine is a more budget-friendly option. However, wood’s beauty comes at the cost of high maintenance. To protect it from the harsh Las Vegas sun and prevent weathering, it must be stained or sealed every two to three years.
Aluminum is a champion of durability and low maintenance. Modern aluminum covers feature a factory-applied, powder-coated finish that won’t rust, warp, crack, or peel, making them an ideal choice for extreme weather conditions. Many products are available with embossed wood-grain textures that offer the look of wood without the upkeep. Its lightweight nature also makes it a more manageable material for a DIYer to handle.
Vinyl provides a clean, traditional look with very little maintenance. It is essentially a structural core (often wood or aluminum) protected by a durable vinyl sleeve. This means it will never need painting and can be cleaned easily with soap and water. While extremely durable, color and texture options are typically more limited compared to aluminum.
Composite materials, made from a blend of wood fibers and recycled plastics, are another emerging option. They offer the rich look of wood but with the low-maintenance benefits of vinyl and aluminum, resisting rot, insects, and fading without the need for sealing or staining.
Key Factors in Your Patio Cover Installation Cost
Creating a realistic budget requires understanding all the variables that contribute to the final price tag. A patio cover installation is more than just the cost of a kit.
Material costs are the largest expense, typically accounting for 60-70% of your total budget. As noted above, wood is often the most affordable upfront, while high-end aluminum or composite systems command premium prices.
Size and dimensions are a primary cost driver. A larger cover not only requires more material but also more structural support, such as additional footings and thicker beams, which increases both material and labor complexity. A basic 10×10 foot cover professionally installed averages $3,750, but a DIY approach can reduce this by 40-60%.
DIY savings versus professional installation is the biggest financial consideration. Labor can account for up to half the cost of a professional job. By doing the work yourself, you can save thousands. However, you must also account for your time, skill level, and the potential cost of fixing mistakes.
Permit fees in the Las Vegas area typically range from $50 to $300, depending on the project’s valuation and complexity. Don’t neglect this step, as building without a permit can lead to fines and removal orders.
Tool rental can add $200-$500 to your budget if you don’t already own the necessary equipment. This might include a power auger for digging footings, a compound miter saw for precise cuts, a hammer drill for attaching a ledger board to masonry, and a laser level for ensuring everything is perfectly aligned.
For a clear and accurate understanding of all the potential costs for your specific vision, consider a professional consultation. The experts can help you map out a detailed budget, even for a DIY project, ensuring your patio cover installation proceeds without any financial surprises.